


This tutorial guides you through using the Development Plan Generator tool to create a comprehensive development plan and timeline for your IT project. By following the steps below, you can input a project idea, generate a detailed problem description, set a project duration, and obtain a structured development plan along with a visual timeline. The tool also supports exporting the results in markdown and SVG formats for easy sharing and integration.
Step-by-Step Guide
Step 1: Access the Development Plan Generator
-
Navigate to Tools in the main menu.
-
Select Apps from the dropdown.
-
Choose Development Plan Generator.
-
Click Start Now to open the tool.
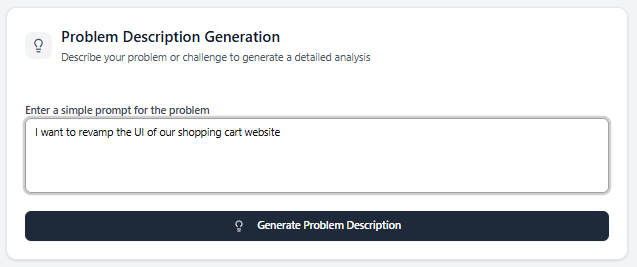
Step 2: Enter the Project Prompt
-
In the Development Plan Generator interface, locate the input field for the project prompt.
-
Enter a brief description of your project (e.g., “An ATM system”, “I want to revamp the UI of our shopping cart website”, or “Develop a new customer support system to improve response times and customer satisfaction”).
-
Click the Generate Problem Description button to proceed.
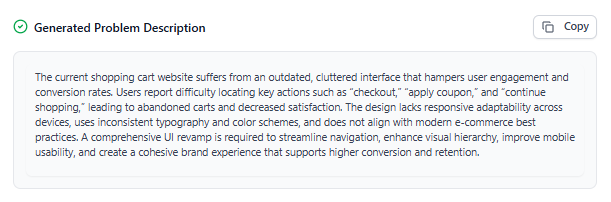
Step 3: Review and Edit the Problem Description
-
The AI analyzes your input and generates a paragraph-long problem description that summarizes the project’s goals and scope.
-
Review the generated description to ensure it accurately reflects your project’s intent.
-
If necessary, edit the description to better align with your specific requirements.
-
Once satisfied, proceed to the next step.
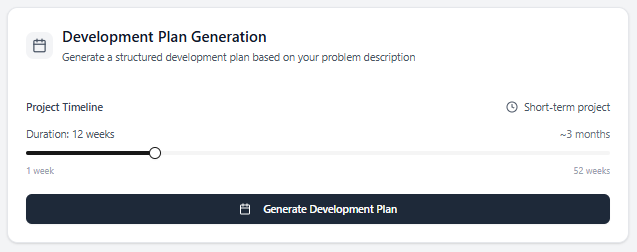
Step 4: Set the Project Duration
-
Locate the project duration slider in the interface.
-
Adjust the slider to set the project duration, which can range from a minimum of 1 week to a maximum of 52 weeks. The duration cannot be set outside this range.
-
When ready, click Generate Development Plan to continue.
Step 5: Review the Development Plan and Timeline
-
The tool generates two outputs:
-
Development Plan: A detailed text-based plan outlining the project phases, tasks, and milestones.

- Timeline Diagram: A visual representation of the development plan, displayed as a timeline for easy comprehension.

-
-
Review both the text-based plan and the timeline diagram to ensure they meet your project’s needs.
Step 6: Export the Results
-
To share or integrate the results, use the export options:
-
Click Export Markdown to download the development plan in markdown format.
-
Click Export SVG to download the timeline diagram as an SVG file.
-
-
These export options allow you to easily incorporate the plan and timeline into reports, presentations, or other tools.
Key Notes
-
AI-Driven Analysis: The tool uses AI to analyze your project prompt and generate a detailed problem description, ensuring clarity and alignment with your goals.
-
Flexible Duration: The project duration slider allows precise control within the 1-to-52-week range, accommodating various project sizes.
-
Export Flexibility: Exporting the development plan as markdown and the timeline as SVG ensures compatibility with a wide range of platforms and tools.
-
Iterative Refinement: You can revisit earlier steps (e.g., editing the problem description or adjusting the duration) to refine the generated plan and timeline if needed.
Conclusion
The Development Plan Generator simplifies the process of creating a structured development plan and timeline for your IT project. By following these steps, you can quickly transform a project idea into a detailed plan with a clear visual timeline. The export options further enhance usability, allowing you to share or integrate the results seamlessly. For additional refinements, revisit the input or duration settings to tailor the output to your exact needs.